DIY specialist, renovator and professional furniture expert Natasha Dickins from Little Red Industries returns with a simple renovating project to spruce up your kitchen.
DIY TOOLS & MATERIALS
- Tiles
- Painter’s tape
- Measuring cup
- Pre-mixed tile adhesive
- 4mm square-notch adhesive spreader
- 3mm T-shape and X-type tile spacers
- Small bucket
- Sponge
- Light-coloured grout
- Scraper
- 150mm rubber grout squeegee
- Light-coloured silicone with caulking gun
- Betta Tilecare Tile & Grout Cleaner
- Cloth
- Betta Tilecare Tile & Grout Sealer
- Mini 10mm-nap microfibre roller with tray
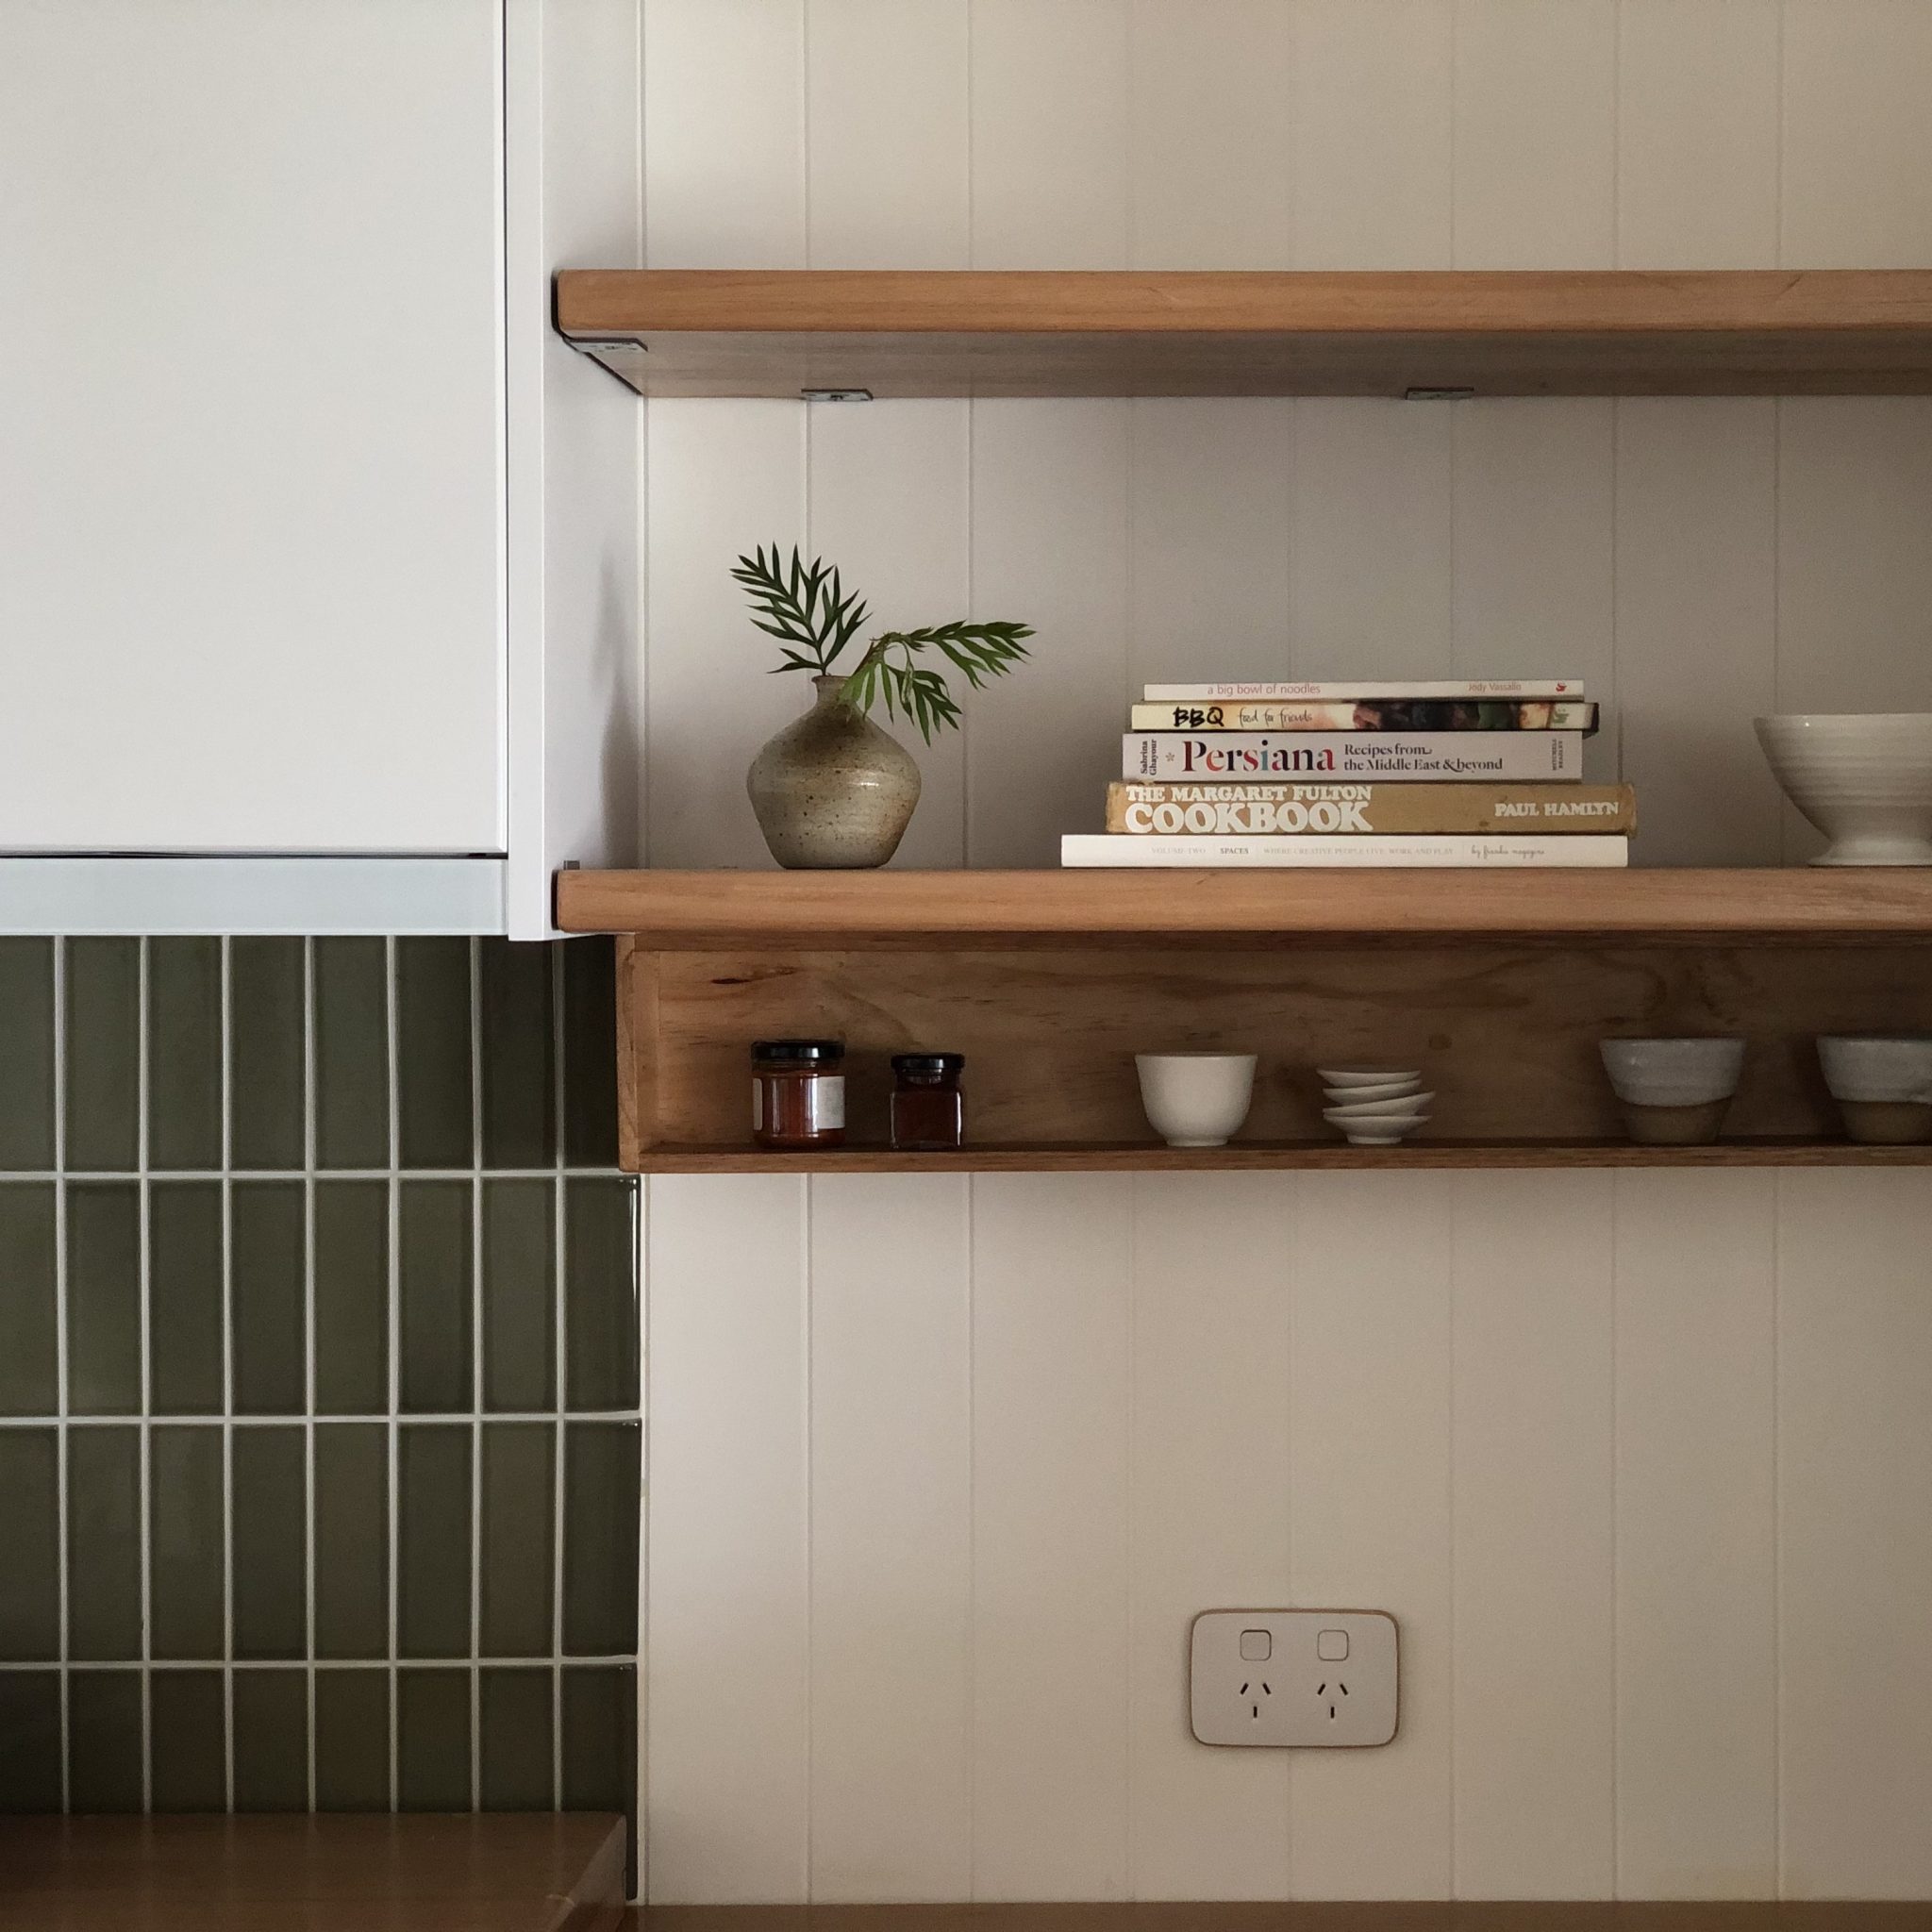
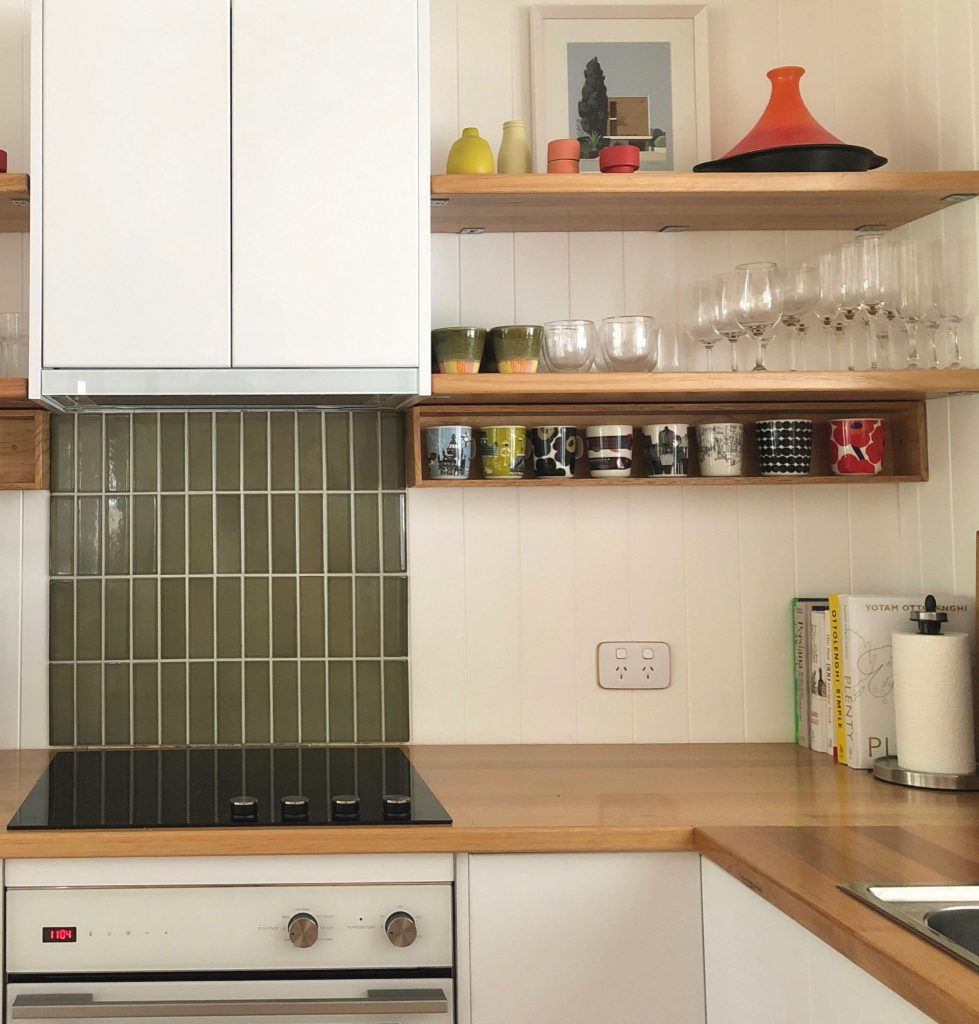
When planning my kitchen renovation I kept the tiling simple by designing the splashback behind the cooktop to suit 150mm-long rectangular tiles that didn’t require cutting.
TIP Choose your tile then work out how many you need, measuring the height and width, adding a few extra in case of breakages. For a similar look, try Decor8 Tiles 150mm x 75mm Devonshire ceramic wall tiles in Olive.

After selecting the tiles, I chose grout in a light grey that would complement the colour nicely.
TIP Grout is porous and can discolour or chip over time – so ensure it’s finished to protect from water splashes and cooking residue. I love how Betta Tilecare Tile & Grout Sealer gives a clear, matt finish that seals perfectly without compromising the surface of the tiles. It also dries super fast and is easy to clean.

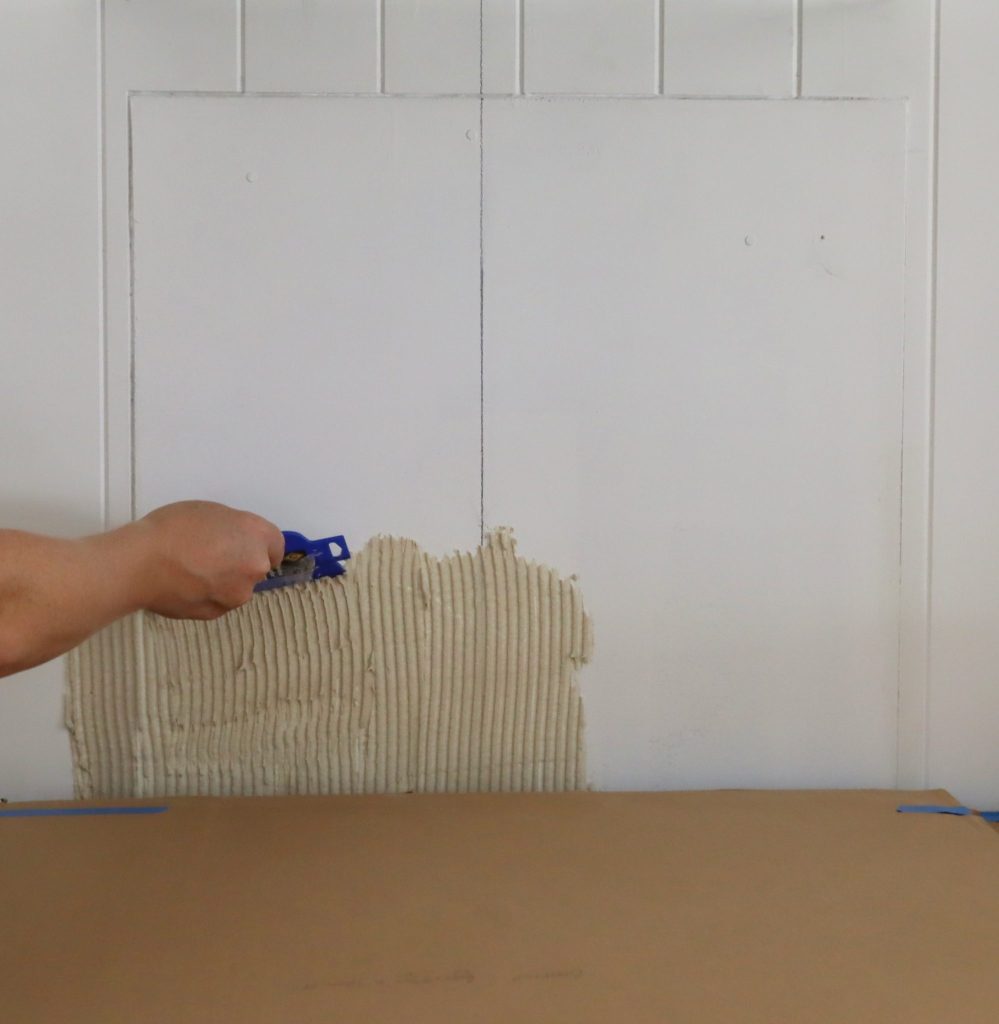
I marked the centre of the splashback as a guide to tile outwards from either side and worked out how many tiles I needed for each row. Then I taped along the bench and covered the surrounding surfaces.
TIP When working out your pattern, row of evenly numbered of tiles, position the grout line over the centre. For rows of odd numbers, position a tile over the centreline.