
DIY specialist and furniture maker Natasha Dickins from Little Red Industries is back to show how to make one basic timber piece that can be adapted to use many different ways
.
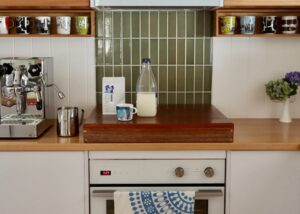
I initially made the tray to be positioned upside-down over the cooktop in my kitchen renovation. The area for the coffee station is tight, so the extra bench space creates room to move when brewing, then lifts off for access to the stove for cooking.
TIP – The instructions here are for a cooktop cover, but you can adapt the size to suit. The bigger, the heavier, so don’t go more than 600mm square.
MATERIALS
1200mm x 600mm x 18mm laminated timber panel
2.4m length 66mm x 18mm DAR meranti
120- and 180-grit abrasive paper with sanding block
Bondall Bondcrete woodworking adhesive 250ml
Cloth
40mm countersunk timber screws
Timber filler with spatula in a tint to match the timber
Mini mohair roller with tray
Monocel Gold Exterior Wood Varnish in Clear
TOOLS
Tape measure and pencil
Combination square
19mm holesaw with arbour
Drill with driver bit
Small trim router (optional, for rounding over)
8G combination countersinking bit
Circular saw with straightedge
Mitre saw or handsaw with mitre box
STEP 1 – CUT TO SIZE
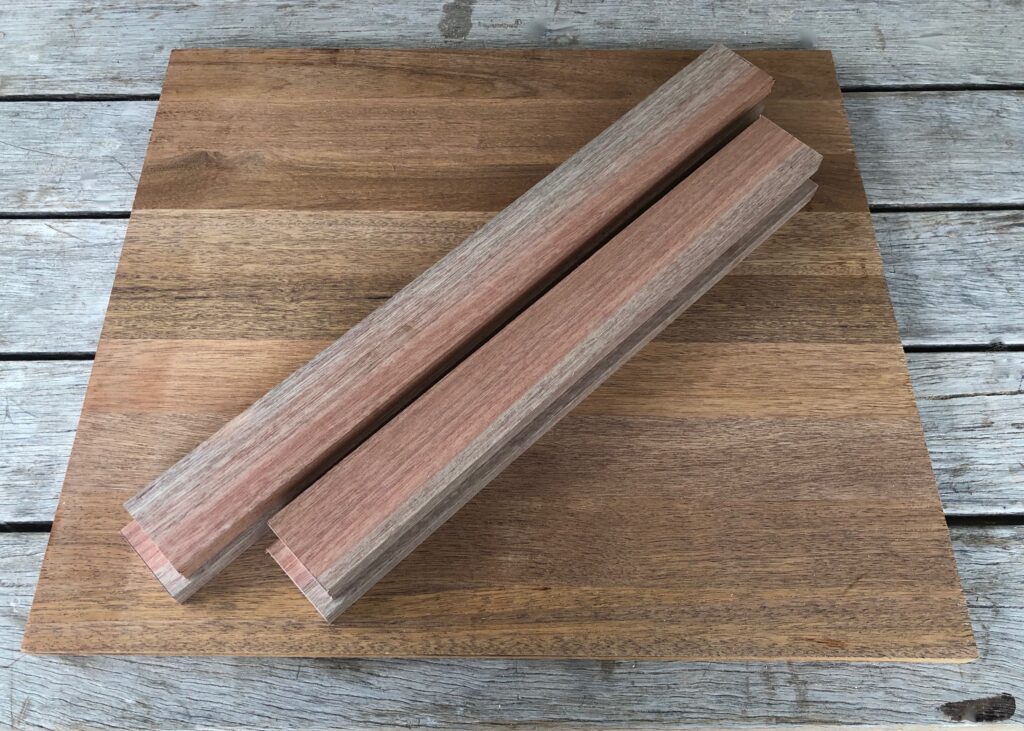
Using a circular saw, I cut the panel to 650mm wide x 580mm deep for the base. This will fit over the cooktop, allowing for the thickness of the sides (18mm each) with a bit of wiggle room.
From the meranti, I cut the front and back to 650mm long (same length as the base) and two sides to 544mm (to match the base minus 36mm, which is the combined thickness of the front and back).
TIP – When measuring the cooktop, allow clearance around the edge and check the sides are high enough to allow for the knobs and plates. For more height, swap the 66mm-wide timber for 91mm, which is the next size up.
STEP 2 – SET OUT THE HOLES
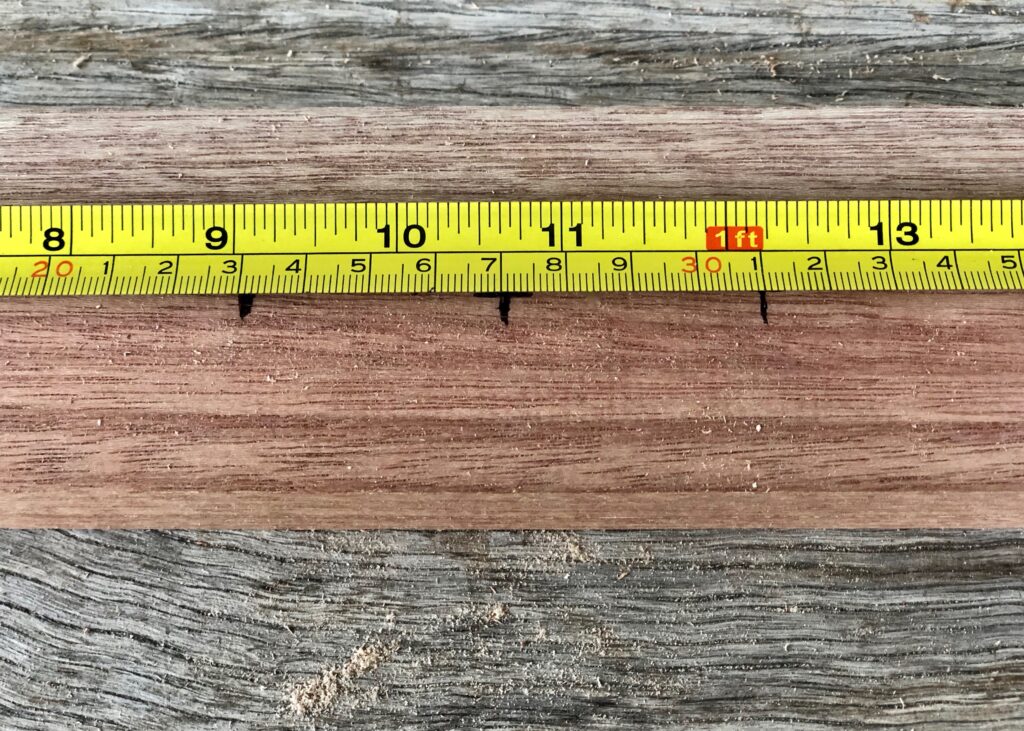
To mark the centre finger hole on the sides, I measured halfway lengthways (272mm from the ends) and widthways (33mm from the edges). To set out the remaining holes I marked 40mm either side of the centre mark.
TIP Use a measuring tape to double check the centre from both ends. Use a combination square to measure widthways, checking the mark is the same width from both edges, then tighten the square to transfer the measurement for other holes.
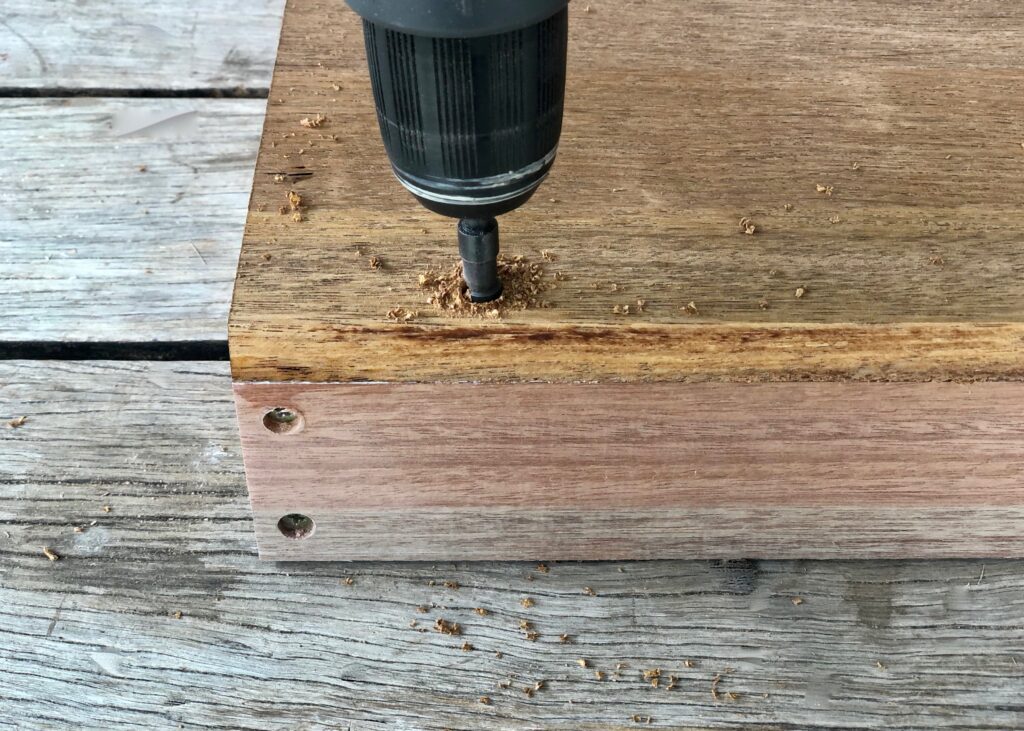
STEP 3 – DRILL HOLES
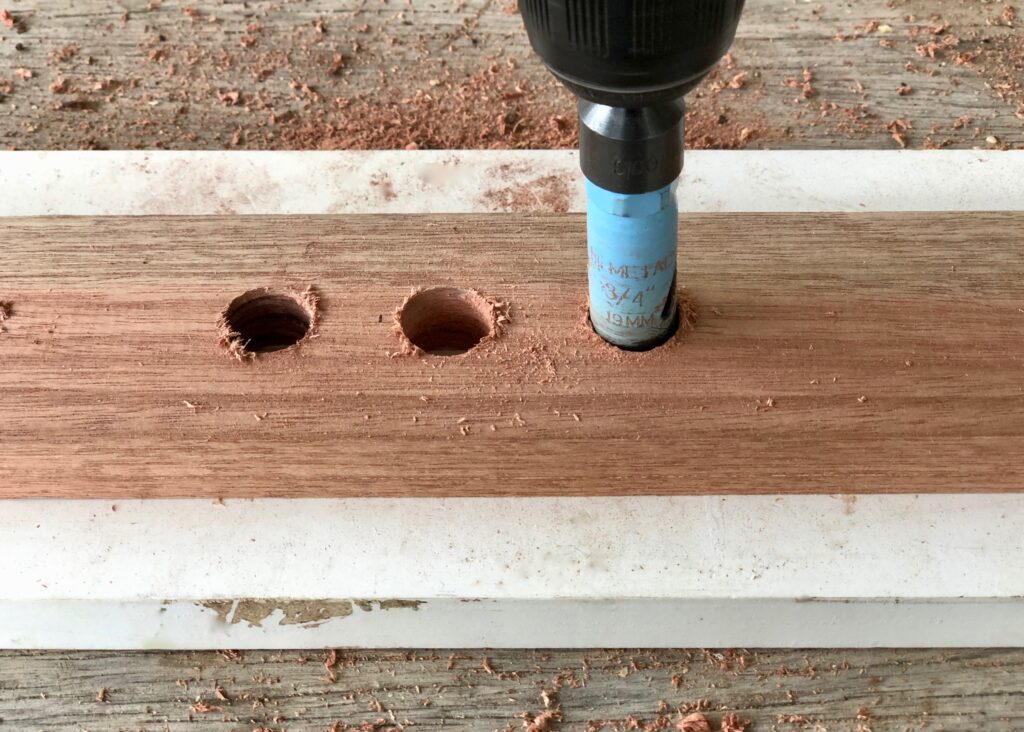
After setting up the drill with a 19mm holesaw, I clamped the side pieces over timber offcuts to protect the bench, positioned the arbour on the marks and drilled halfway through. Then I turned the pieces over, clamped, then finished drilling from the other side.
TIP – Hold the drill straight, drilling from both sides to prevent the timber from breaking out. When purchasing a holesaw, check it has an arbour (the drill bit in the centre). If not, buy one separately.
STEP 4 – ROUND THE HOLES (OPTIONAL)
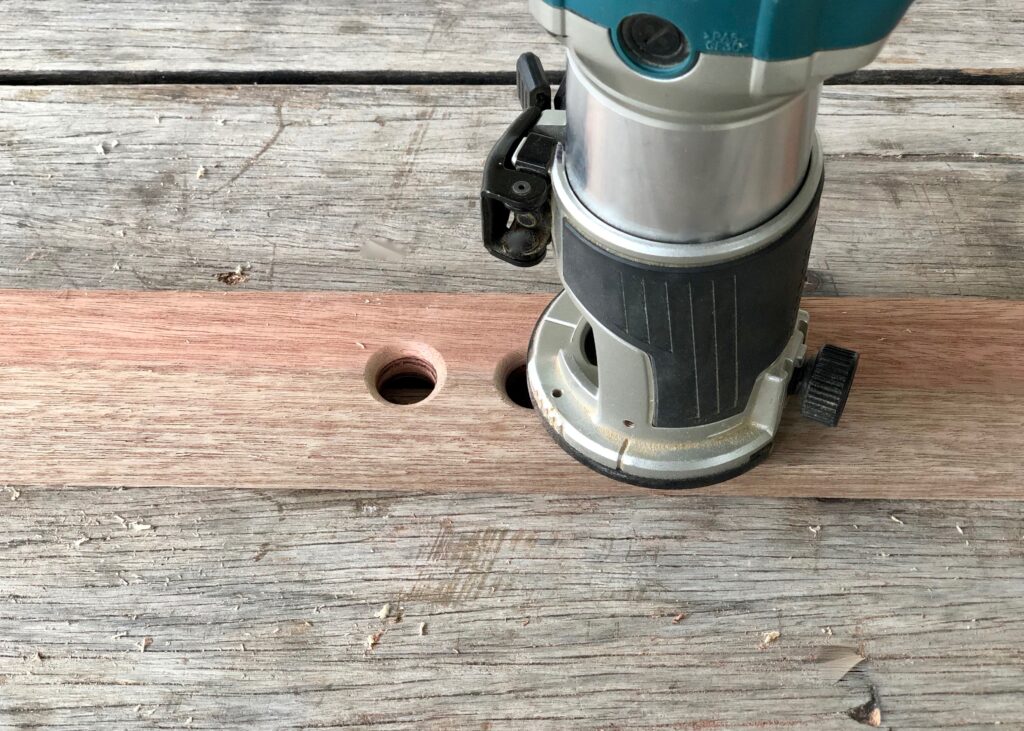
One of my fave tools is a small trim router that I use for rounding over edges and to clean up around the holes. Then I rolled a small piece of 120-grit abrasive paper to fit into the holes for sanding the insides.
TIP – If you don’t have a router, use the abrasive paper to round over the holes, holding it diagonally to sand from both sides.
STEP 5 – COUNTERSINK HOLES
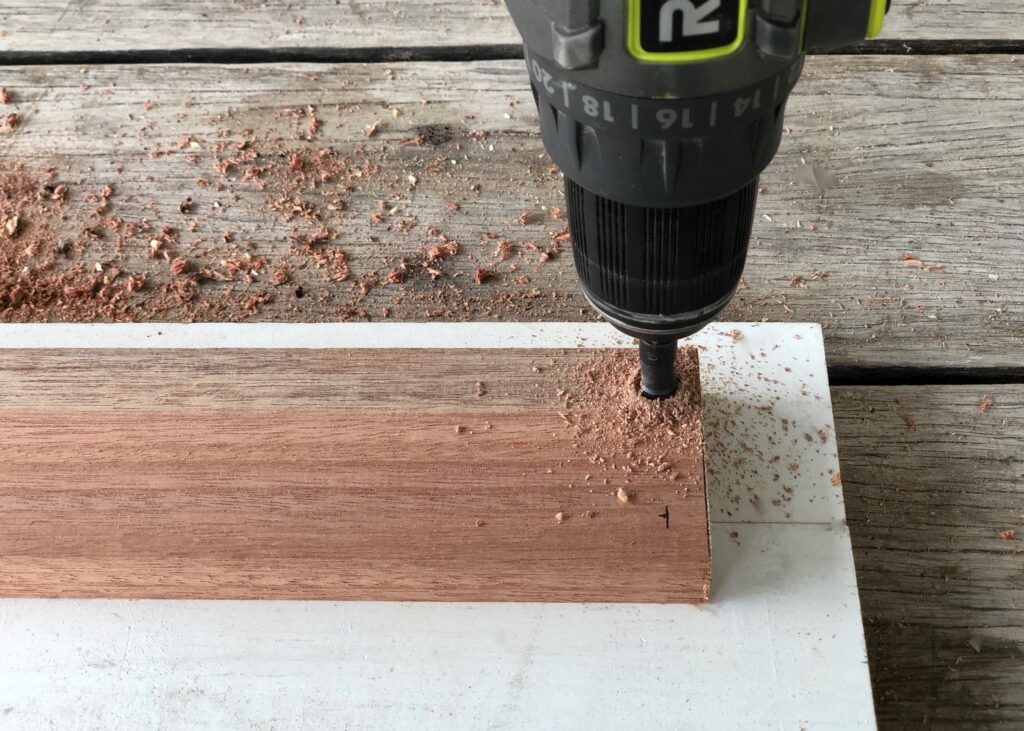
On the front and back pieces, I used the combination square to mark 10mm from the ends and 15mm from the edges, then predrilled the holes with a combination countersinking bit.
TIP – Clamp timber offcuts under pieces when drilling to protect the bench.
STEP 6 – GLUE & SCREW
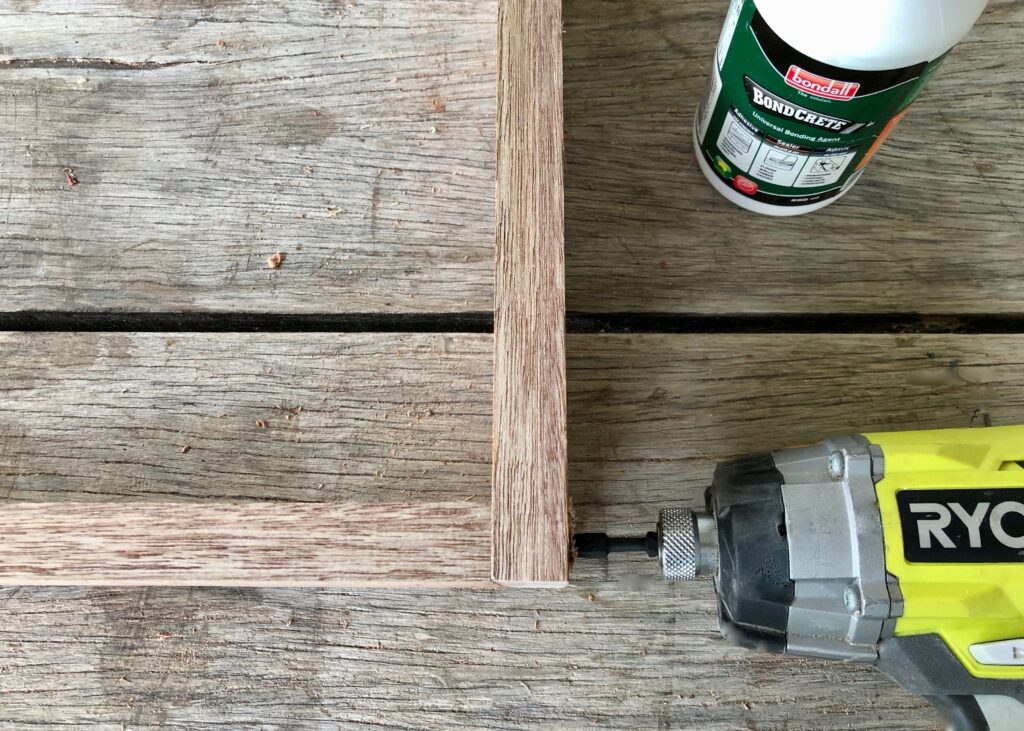
To assemble the frame, I positioned the front and back against the sides. Working on one join at a time, I applied Bondall Bondcrete woodworking adhesive to the end grain and secured through the holes with 40mm timber screws, ensuring the heads sit below the surface.
TIP – Wipe away excess BondCrete with a damp cloth as soon as it appears to avoid sanding it off later.
STEP 7 – COUNTERSINK THE BASE
To attach the base, I positioned it over the frame with the best side facing up and predrilled two holes at each corner, 65mm from the sides and 10mm in from the edges. Along the front and back pieces I predrilled holes at the centre, 10mm in from the edge. I lifted off the base to run adhesive around the top of the frame, then repositioned it, securing with 40mm screws.
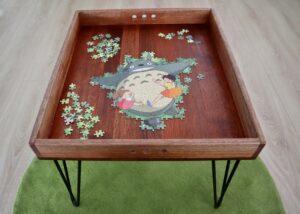
TIP If your tray will be used right-side up, position the base on the frame with the best side facing down.
STEP 8 – FILL THE HOLES
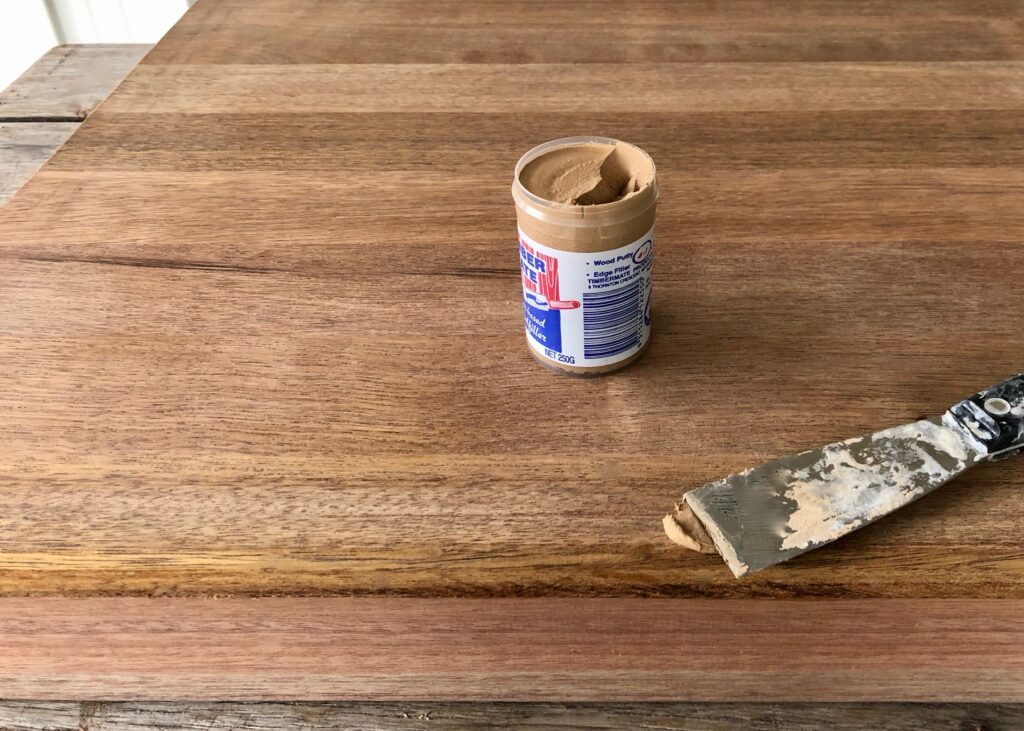
After wiping away excess adhesive with a damp cloth, I sanded away any breakout around the holes with 180-grit abrasive paper. I smoothed over the holes with timber filler and left it to dry for about an hour.
TIP – Choose a filler tinted to match the timber, keeping in mind that it goes a little darker with the application of varnish.
STEP 9 – SAND SMOOTH

I used the trimmer to run around the edges and down the corners to round them over slightly then sanded all over with 180-grit abrasive paper, removing any excess filler and any splinters along the sides. Wipe all over with a clean damp cloth to remove any dust.
TIP – If you don’t have a trimmer, take the time to round over the edges and corners with 120-grit, then repeating with a smoother 180-grit.
STEP 10 – VARNISH
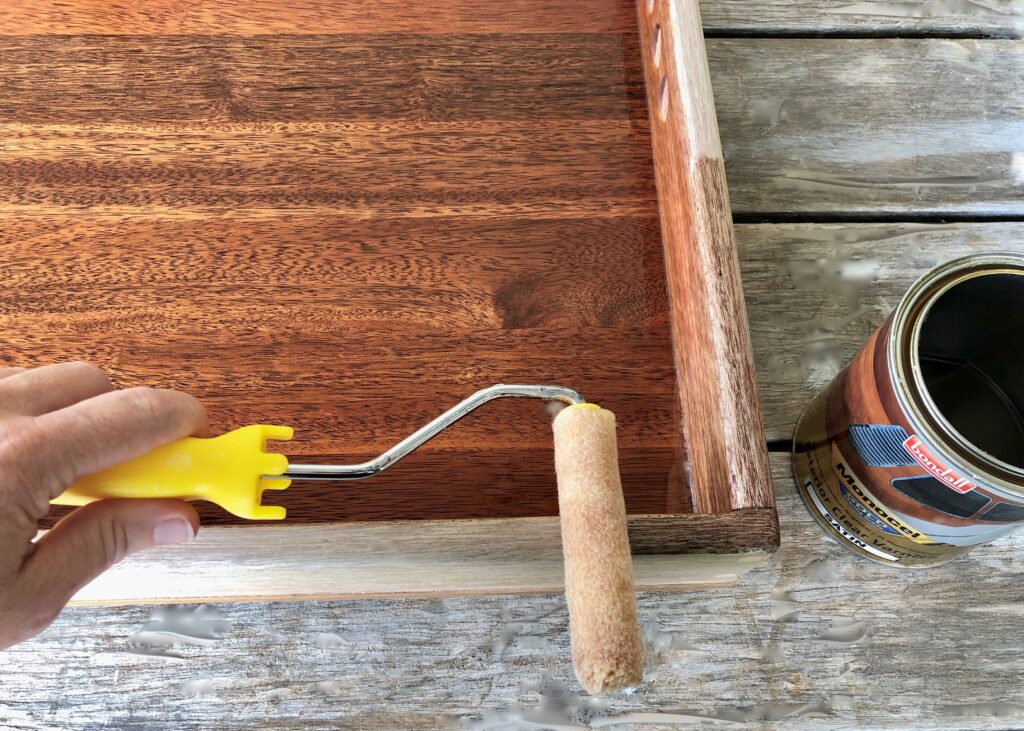
After positioning the tray right-side up on some offcuts to raise it off the bench, I used a mini mohair roller to apply a coat of Monocel Gold Exterior Wood Varnish in Clear around the inside, along the top and down the sides, dabbing into the holes with the tip of the roller and smoothing away drips. I left it to dry for two hours, flipped it over and sealed the base, leaving to dry overnight.
TIP – Stir the varnish thoroughly before pouring into a mini tray. Use plastic wrap to seal the tray and roller between coats to prevent them from drying out.
STEP 11 – ADD COATS
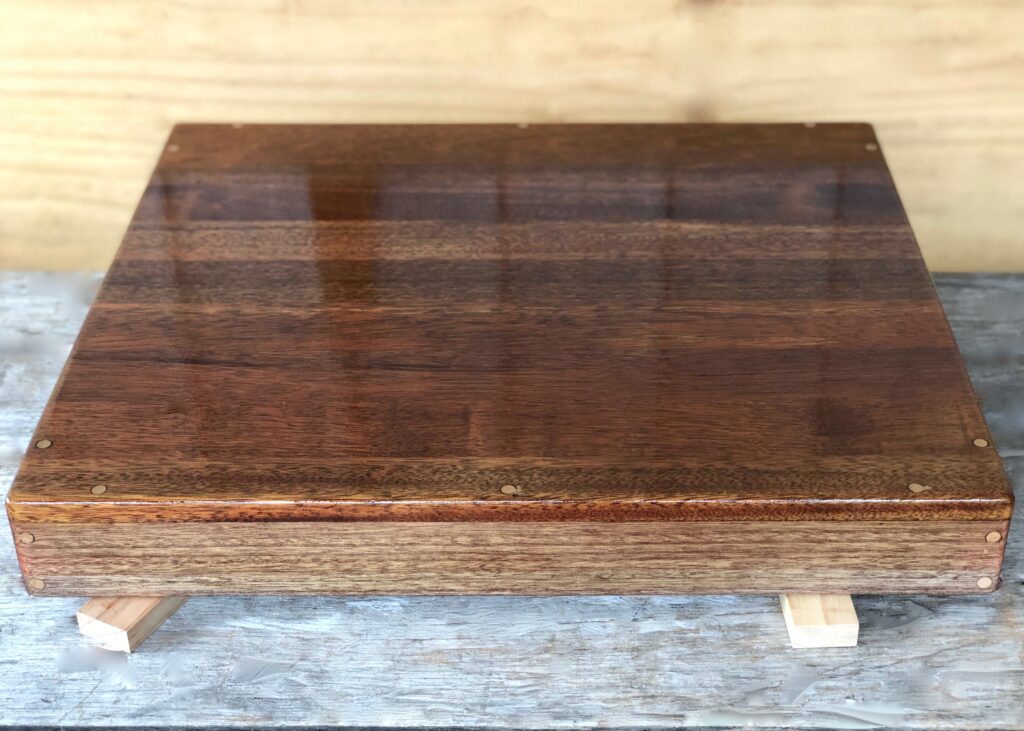
I lightly smoothed over the tray with 240-grit abrasive paper, wiped away the dust with a damp cloth, then applied a second coat inside and outside, leaving it to dry thoroughly. I applied a third coat over the base as an extra protective layer. If your tray is to be used right-side up, add a third coat to the inside.
TIP – When finished, discard the roller cover but leave the tray to dry, then simply peel off the dry varnish.
STEP 12 – STYLE
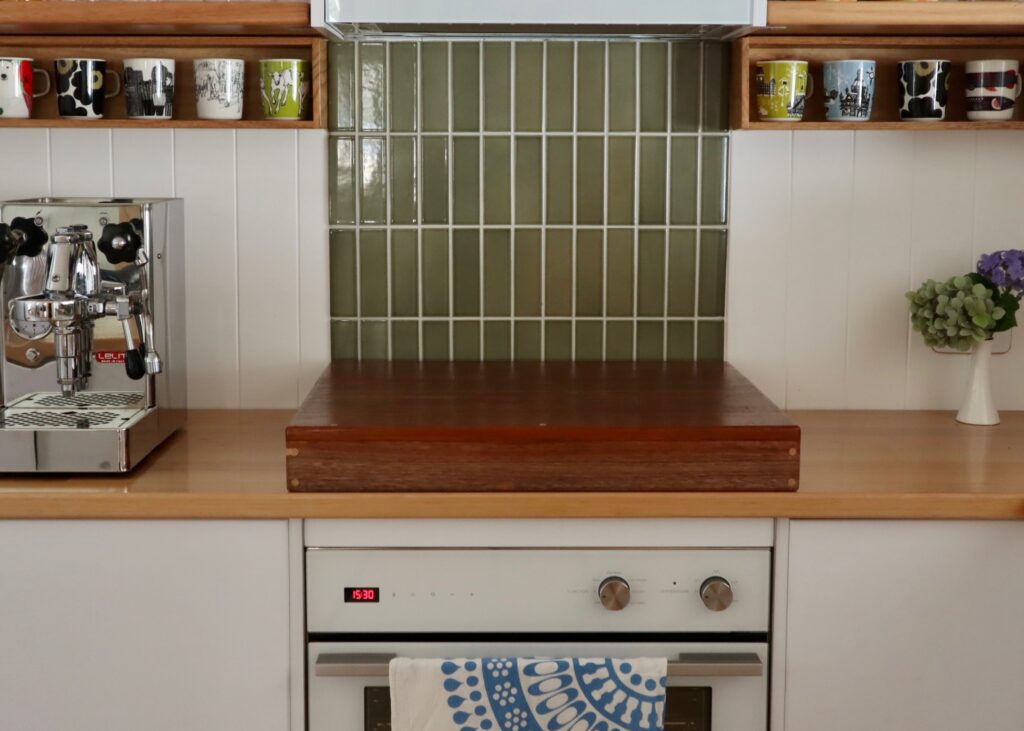
The cooktop cover was the finishing touch in my kitchen renovation. You can see how to install a similar tiled splash back here.
