DIY Built-in Entertainment Cabinet
DIY specialist and renovator Natasha Dickins from Little Red Industries shows how to set up a customised hub for playing vinyl and watching TV.

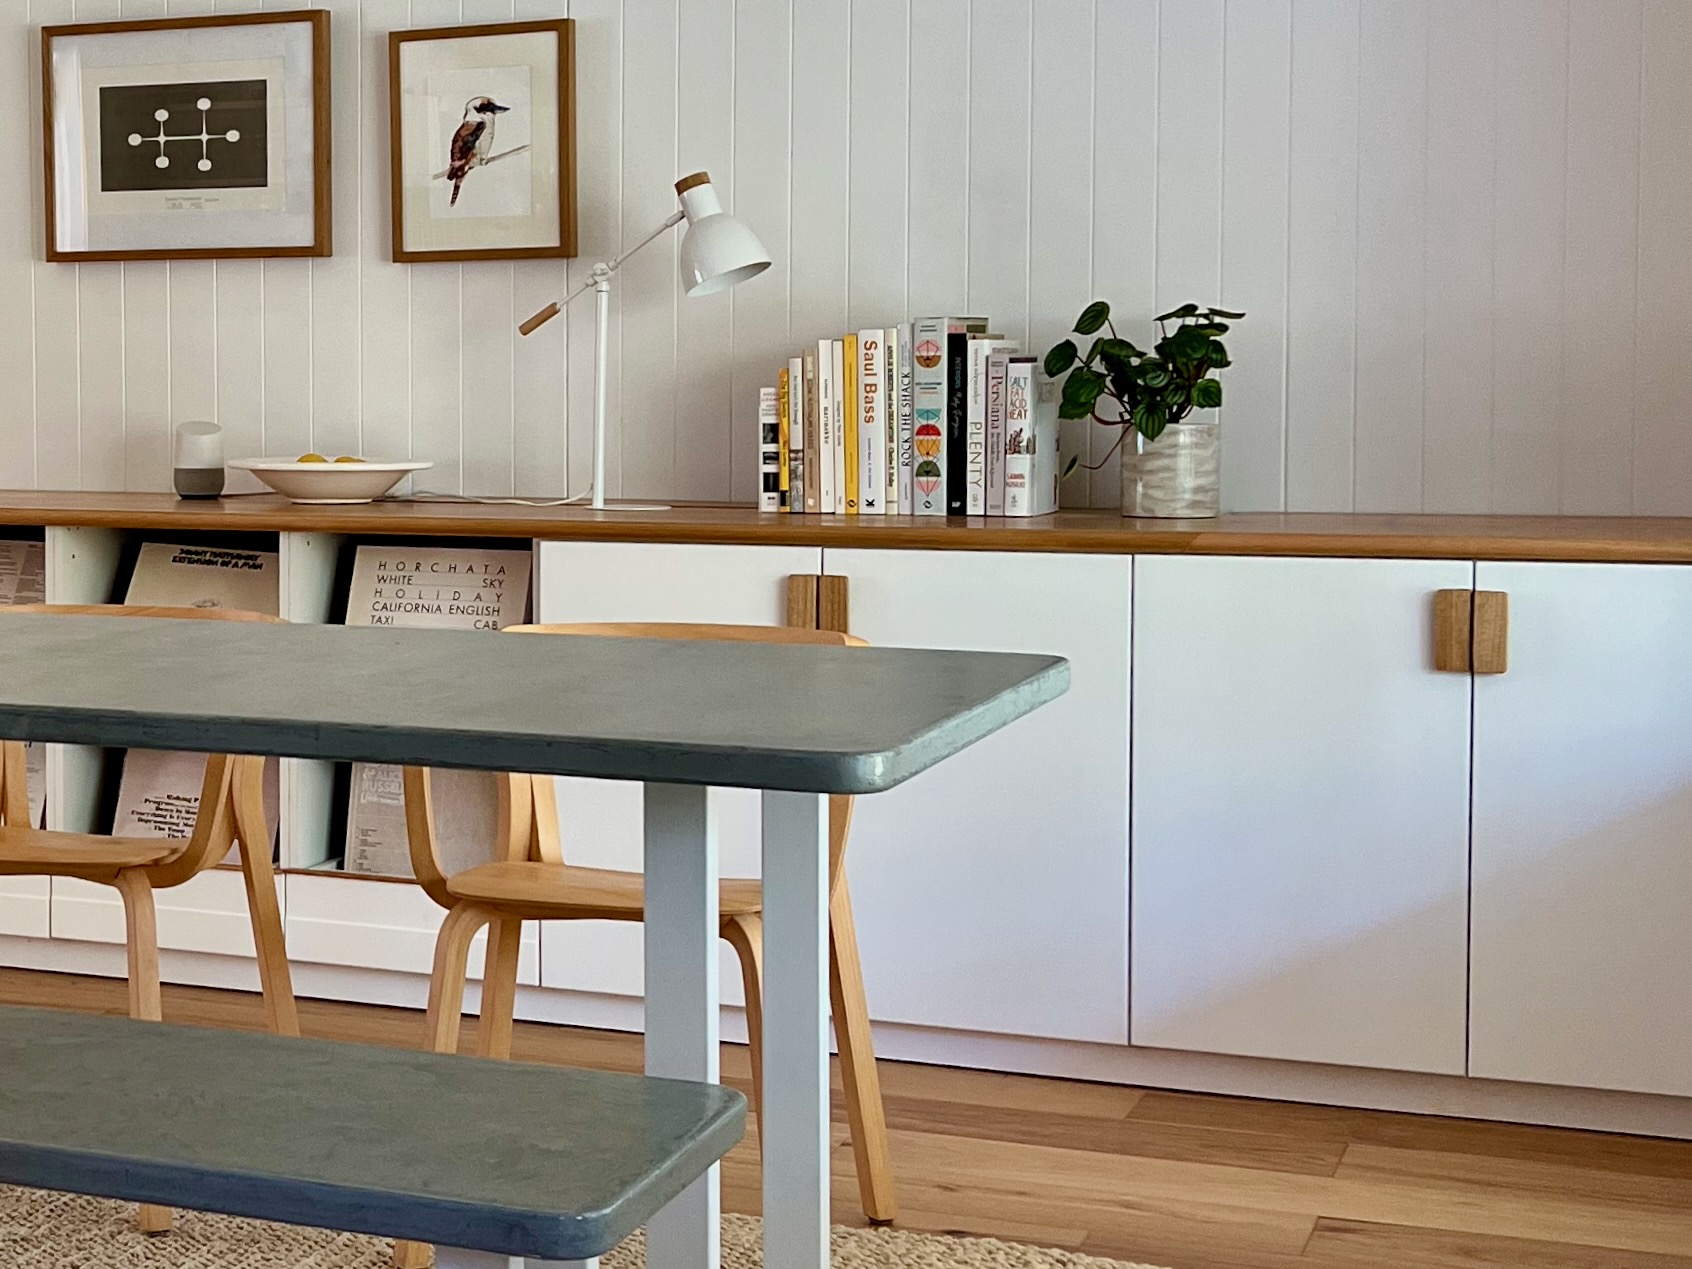
I created a 3.2m-long built-in cabinet by simply installing flatpacks and adding a bench top made from Tasmanian oak and finished in Monocel Gold satin varnish.
[VIDEO LINK: https://youtu.be/wEVSDSZc5DM]The end result is super heavy, so I built it in the workshop, moving the components to install on site. Here’s how it came together…
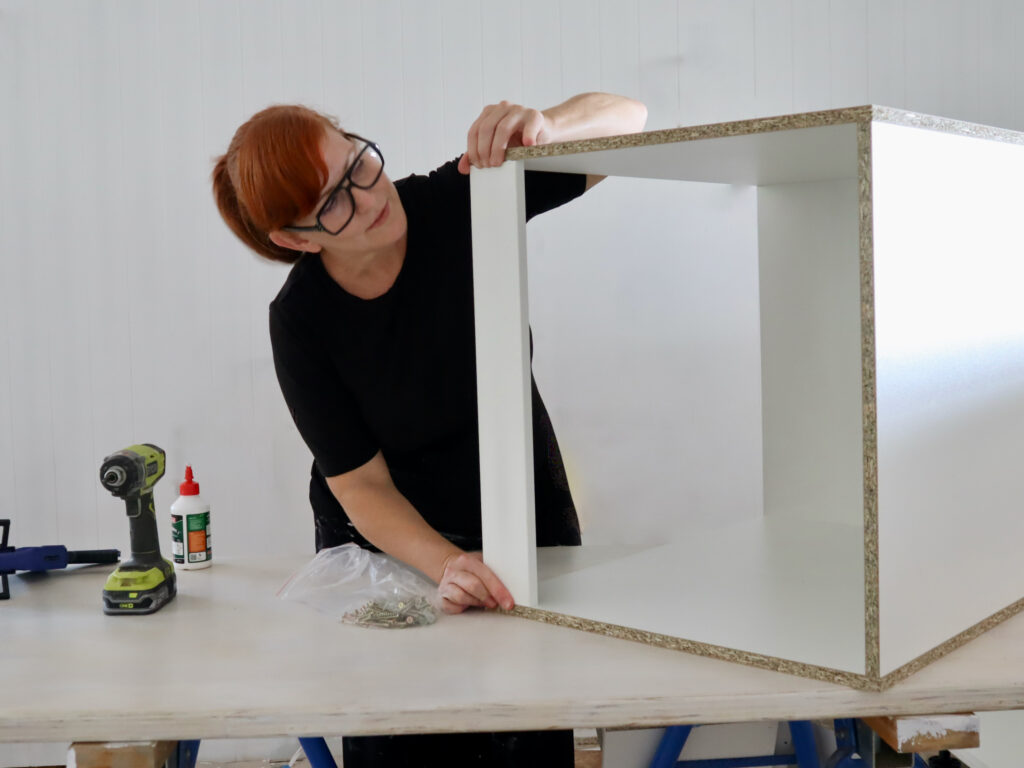
STEP 1 Assemble the units
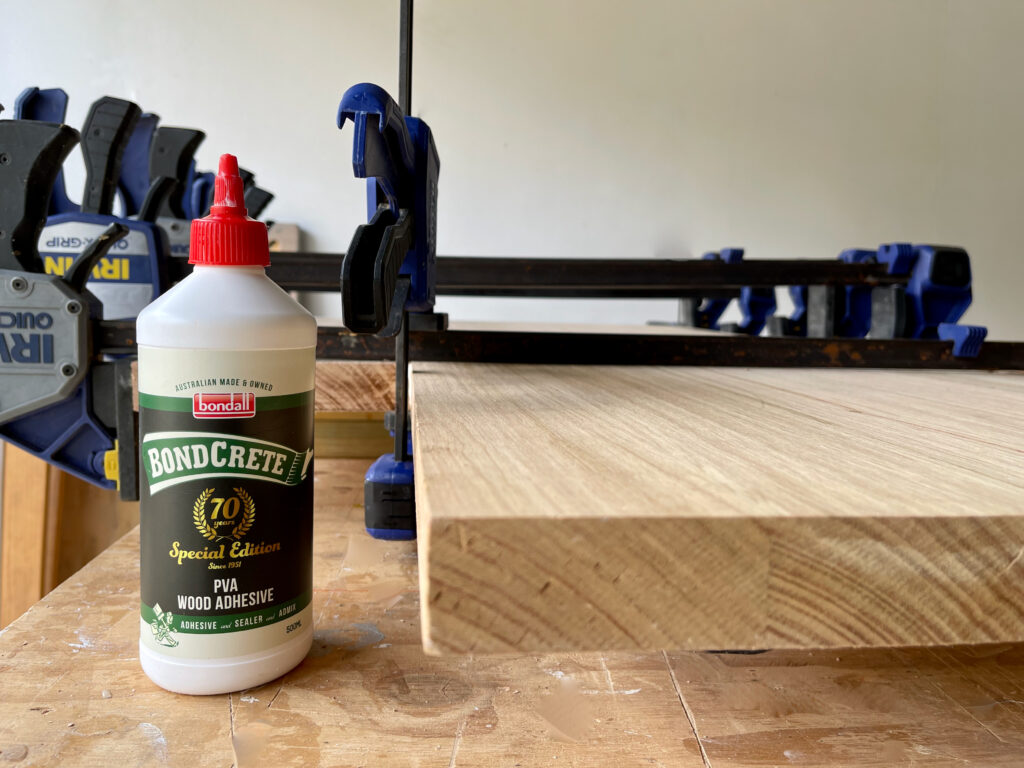
When assembling flatpack furniture, I always reinforce the raw particleboard joints with woodworking adhesive to make it more durable, especially if it will hold a heavy record collection.
Bondall’s Bondcrete has the perfect dry-time, staying sticky for long enough to make adjustments but curing with a solid hold in an hour or so.
It also dries clear, so rather than wiping away the excess as you go, leave any drips to dry completely, then run a spatula over the surface to simply scrape them off the melamine.
TIP Click through to see more DIY tips and tricks for putting together flatpack units.
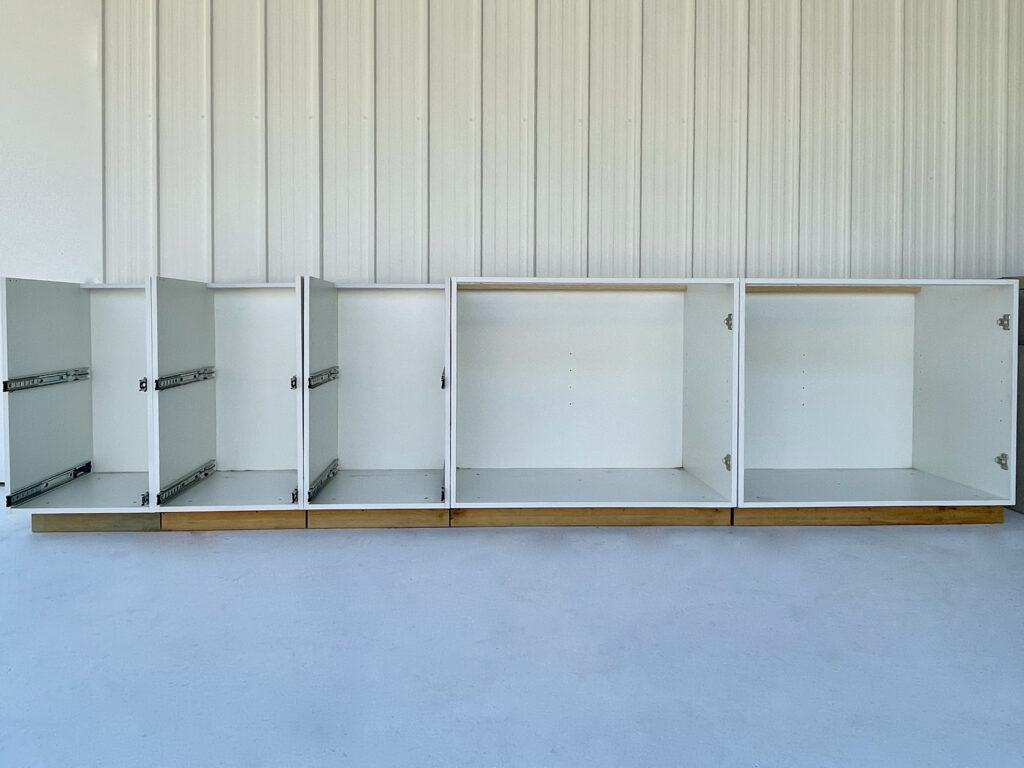
STEP 2 Add the base frame
After assembling the Kaboodle Kitchen flatpacks I built a base frame for each, replacing the standard feet that usually support a kick board with 70mm pine to sit lower than a standard bench for better visibility of the TV from the sofa.
The base frames allow clearance for doors and drawers to open and are set back 50mm from the front of the units to allow for skirting to be added later. It matches the moulding in the rest of the room so it looks more like built-in joinery than kitchen cabinetry.
For access to plugs and switches, I made cutouts through the back of the units with a reciprocating multi-tool, making them the same size as the power points.
TIP The units are installed 30mm from the wall and joined with 30mm screws through the sides to create one long cabinet.
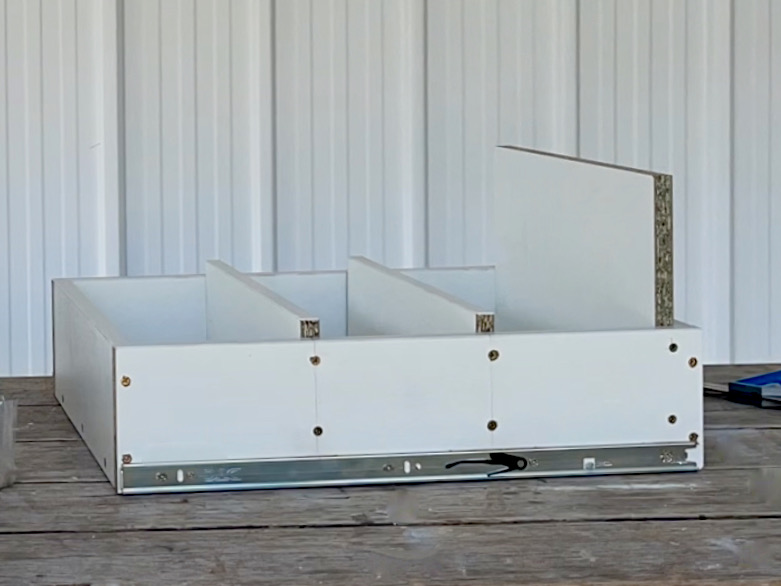
STEP 3 Customise the drawers
Four-drawer units are customised for storing a vinyl collection. To avoid wastage, the pieces from every second drawer are cut to fit and installed as dividers so the records stay upright.
I trimmed down standard drawer fronts to allow for clearance and added timber shelf edging along the tops to cover the joins.
TIP Click through to see detailed step-by-step instructions on how to make a record cabinet using the same technique.
STEP 4 Make the benchtop
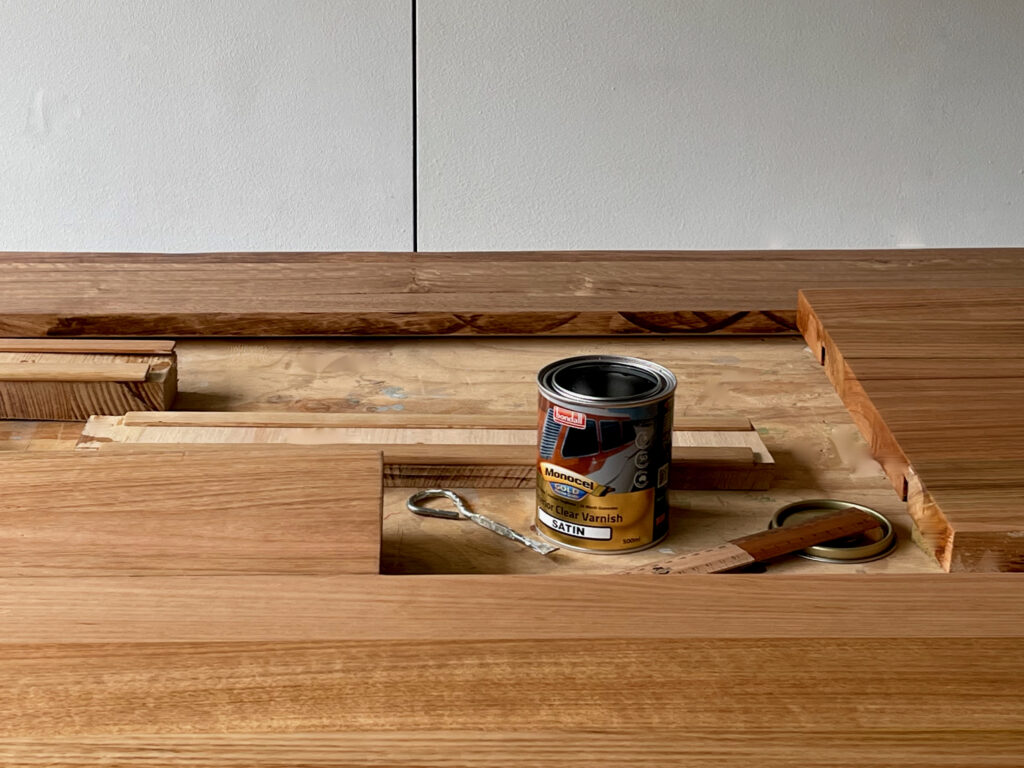
To keep the heavy top manageable, I made it in three separate pieces from a 900mm x 2000mm, 30mm-thick Tasmanian oak panel from Bunnings.
I cut it in half lengthways to get two panels to be connected on site with benchtop joiners.
The offcut was trimmed and attached to the larger panels to make the bench 605mm wide while allowing for a drop-in piece along the centre back that can be lifted off for access to power points. I joined the offcuts to the panels with Bondcrete and flat metal mending plates.
TIP The edge of the bench is finished in 30mm half-round dowel, which I also attached in two pieces so it could be glued and clamped to the panels in the workshop.
STEP 5 Seal all the timber
Making all the timber features, including the bench top, in Tasmanian oak finished in the same Monocel Gold satin varnish helps them appear consistent. I also sealed the handles and edging for the drawers, sanding and applying three coats, leaving to dry for a few hours after each.
TIP Click through to see the simplest method to apply varnish on a bench top – all you need is a mini mohair roller and tray.
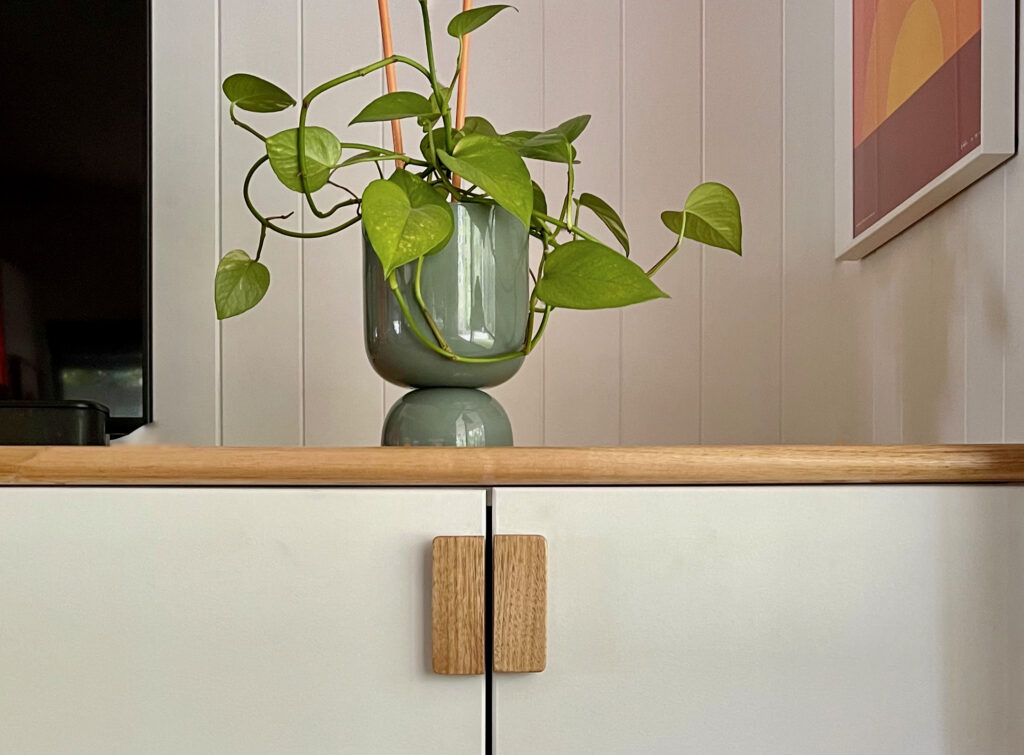
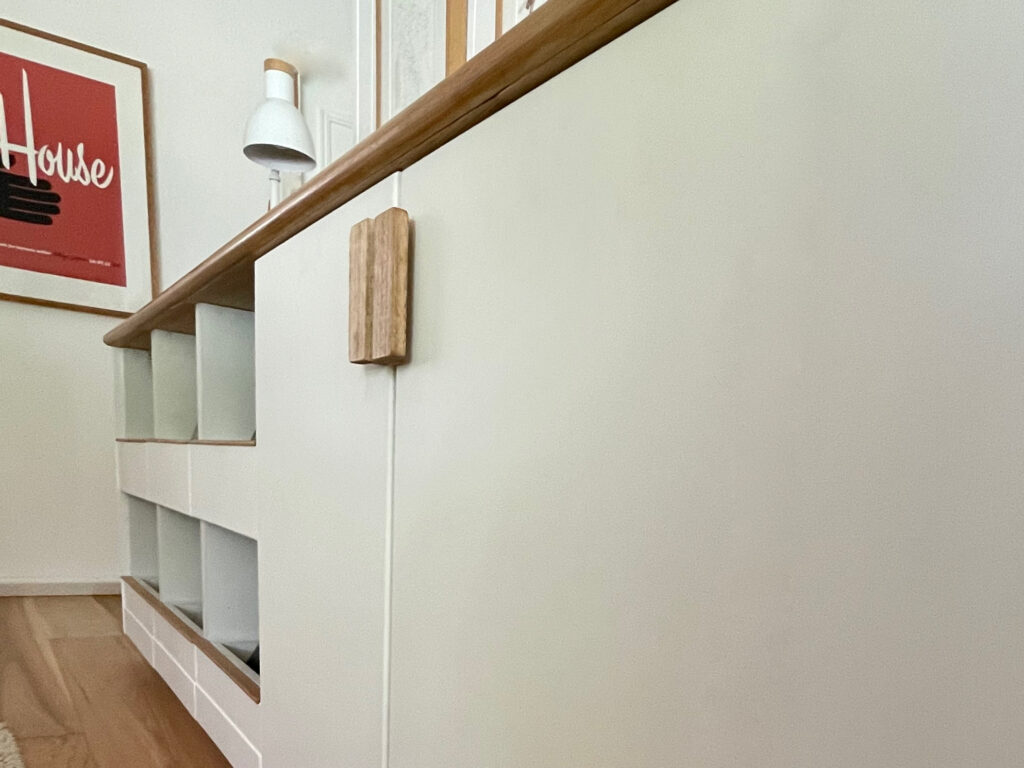
STEP 6 Make bespoke handles
Adding a handcrafted timber element to the front helps to visually tie the elements of the cabinet together. I made these handles from 12mm x 30mm Tasmanian oak moulding, rounding over the corners with a trimmer and attaching them through the door with 25mm screws.
TIP Alternatively, you could use store-bought handles like these D-shaped raw pine ones from Bunnings, giving them a quick sand and a coat of varnish.
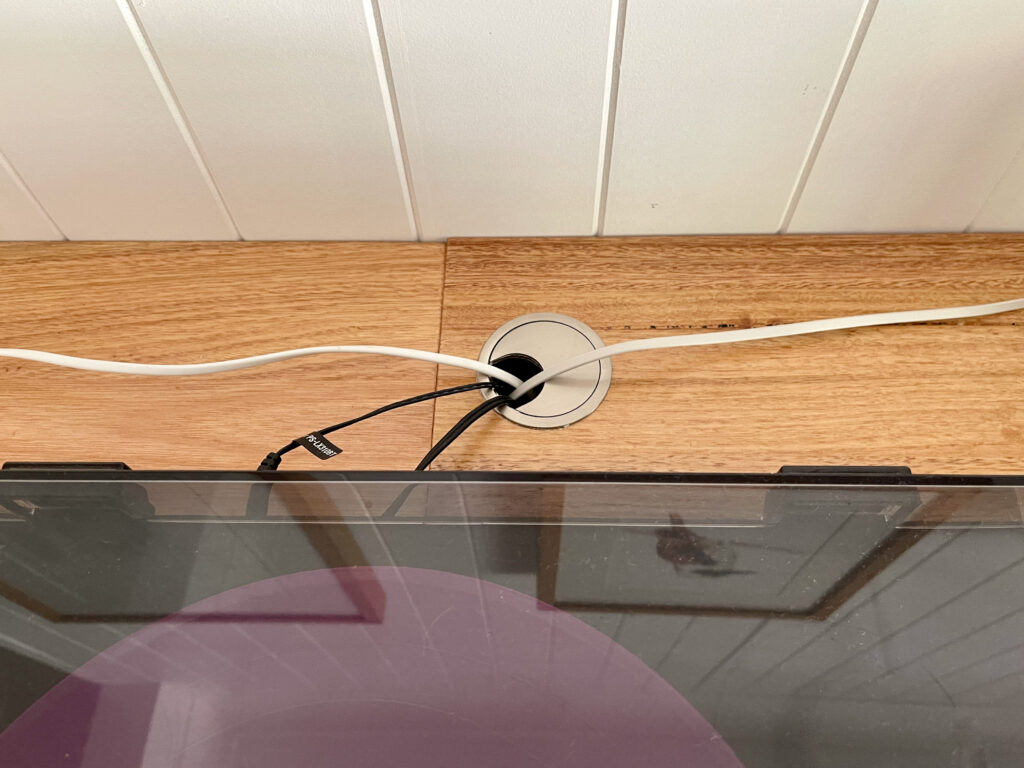
STEP 7 Create access to power
There’s no entertainment without access to power, so I added cable ducts to the liftout section of bench for access to points and switches points for setting up speakers, the record player, TV and lamp.
TIP I used a 60mm holesaw to make the cutouts, but check the requirements on the packaging as the diameter varies with the product.
Have you installed built-in joinery? Be sure to post it on Facebook and Instagram, tagging @bondall.au, @monocel.timbercare and @littleredindustries. We love to see your projects!
Share this…
